
Using Arduino UNO as a Keyboard
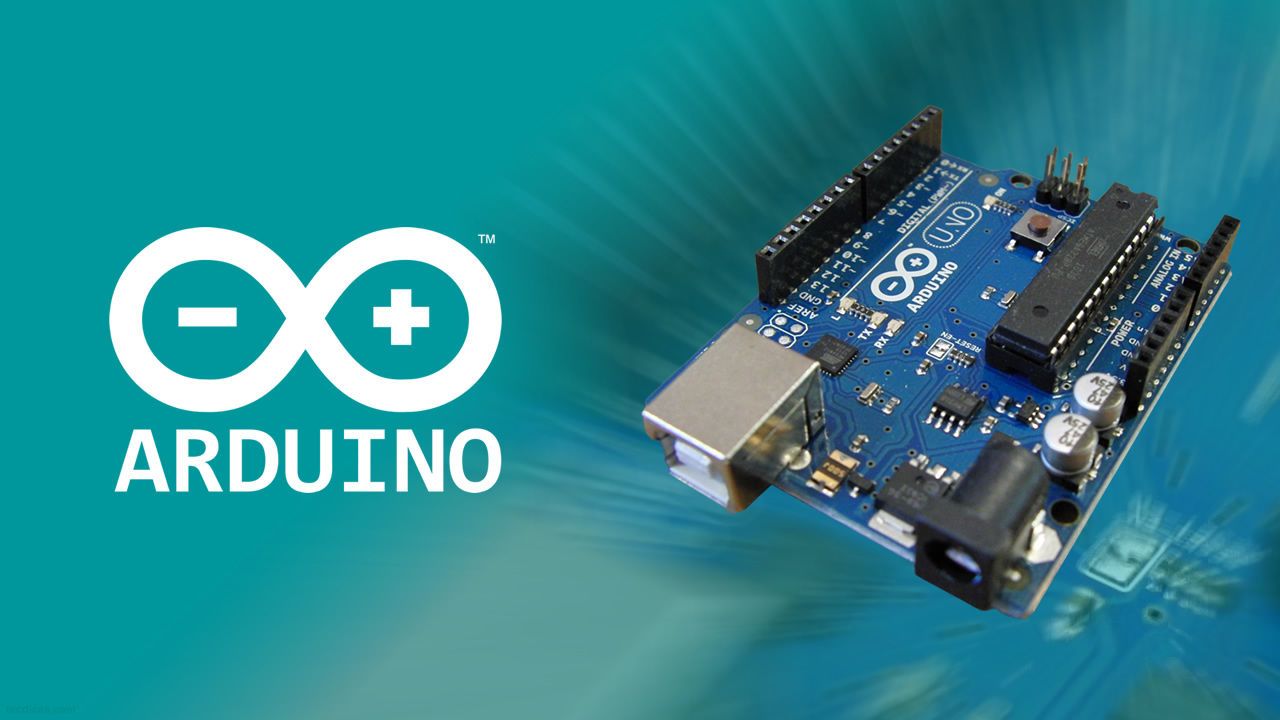
Using Arduino UNO as a Keyboard
I present to you an interesting Arduino project. Actually, what makes this project interesting is that in computer-interactive projects normally Arduino Leonardo is used, but in this project, we're using Arduino Uno, and with the help of an emulator we've written, we'll make it interact with the computer.
In this application, as an example, I made it log into my Instagram account by reading an RFID card. Of course, this wasn't very secure because if someone got hold of it, they could easily perform the same operation in Notepad and see my password, but at least you can understand how to write something from the keyboard with this project.
Note: If I have to mention one of the issues I'm currently facing in this project, the computer language needs to be English and I haven't managed to send Turkish characters through serial communication yet. If someone can make this project or a similar one to send Turkish characters and explains in the comments or sends me an email privately, I would be very happy.
First of all, in this project I will use the RFID card module so that Arduino does not constantly interfere with the keyboard, and when the card is read, I will send the previously stored word on Arduino as a Serial message. Then, with a software I prepared in Processing, I will take the message and write it as if it was being typed from the keyboard.
Let's first set up our Arduino circuit and start writing our code.
Our Circuit Diagram

Codes We Used in Arduino
/* Libraries */
#include <SPI.h>
#include <MFRC522.h>

/* Variables  */
int rf_reset = 9, rf_ss = 10; // Reset and ss pins where we connected the RFID module
MFRC522 RFID(rf_ss, rf_reset); // Our RFID module variable
byte card_id[4] = {185, 144, 187, 176}; // ID of the card we defined
bool card_statue = LOW; // Boolean variable that checks if card is near or not

void setup() {
  Serial.begin(9600); // Our serial connection
  SPI.begin(); // Our communication connection with the RFID card
  RFID.PCD_Init(); // Our communication connection with the RFID card
}

void RFIDStatue() {

  if (!card_statue) { // We check the card status, and if it is LOW / False
    if (!RFID.PICC_IsNewCardPresent()) { // If there is not a new card nearby
      return false; // return empty
    } else { // If registered / nearby
      card_statue = true; // set card status to high / true
      if (RFID.uid.uidByte[0] == card_id[0] && RFID.uid.uidByte[1] == card_id[1] && RFID.uid.uidByte[2] == card_id[2] && RFID.uid.uidByte[3] == card_id[3]) // We verify the card
        sendMessage(); // If correct card, call function to send message
    }
  }

  if (!RFID.PICC_ReadCardSerial()) { // If the card is not nearby
    card_statue = false; // set card status to low / false
    return false;
  }

  delay(100);
}

void  sendMessage() {
  Serial.println("Sent Word"); // We use println to send the message
}


void loop() {
  RFIDStatue();

}Processing Codes We Used
import processing.serial.*; // Library for establishing serial connection
import java.awt.Robot; // Library to automatically press the keyboard
import java.awt.event.KeyEvent; // Library to simulate the keyboard
import java.io.IOException; // Library to access the system
/* Robot Variable */
Robot robot; // We define a robot for automatic keyboard pressing

/* Serial Variable */
String serialReadString = null; // Incoming message from serial
String newserialReadString = "0"; // Variable used to avoid writing if the incoming message is the same, but we did not use it in this project
char[] serialReadChar; // Variable used to divide the incoming message from serial character by character
int nl = 10; // leave as is, I don’t know what it does
String[] serialPorts; // To see all serial ports connected to the device
Serial serial; // Access to serial connection library class
void setup() {
  surface.setLocation(9999,9999); // Since I couldn't manage to run the application in the background, I send it to the lower right corner of the screen
  size(0, 0); // I set the screen width and height as 0,0
  SerialPortConnect(); // We call the function for the serial connection
  SerialPortList(); // We list the ports in the system
  SerialConnect(serialPorts[0], 9600); // Here, serialPorts[0] is the com port the Arduino is connected to, and 9600 is the serialBaudrate value in Arduino
  RobotCreate(); // We create the robot for automatic keyboard pressing
}

void draw() {

  SerialRead(); // We call the function that reads the messages coming from serial
  surface.setLocation(9999, 9999);
}
/* Robot */

void RobotCreate() {
  try {
    robot = new Robot(); // We create the robot
    robot.delay(1000); // Wait for 1 second
  }
  catch(Exception e) {
    exit();
  }
}
/* Below, we define the keys on the keyboard for the robot we created and let it press the incoming key. */
void RobotKeyPress(char character) {
  try {
    if (character == 'a')
    {
      robot.keyPress(KeyEvent.VK_A);
      robot.keyRelease(KeyEvent.VK_A);
    } else if (character == 'b')
    {
      robot.keyPress(KeyEvent.VK_B);
      robot.keyRelease(KeyEvent.VK_B);
    } ... (rest of the code remains identical except comments)
    robot.delay(25);
  }
  catch(Exception e) {
    exit();
  }
}
/* Serial Functions */
void SerialPortConnect() {
  serialPorts = Serial.list(); // We list all open com ports on the computer as serialPorts variable.
}

void SerialPortList() {
  for (int i = 0; i < serialPorts.length; i++) {
    println("Port Number : " + i + " : " + serialPorts[i]); // We print all listed ports on the console.
  }
}

void SerialConnect(String port, int baud) {
  serial = new Serial(this, port, baud); // We connect to the selected com port for serial communication.
}

void SerialRead() {
  if (serial.available() > 0 ) { // If a serial message arrives
    serialReadString = serial.readStringUntil(nl); // We assign the incoming message to serialReadString
    if (serialReadString != null && newserialReadString != serialReadString) { // If the message is not empty and different from the previous message
      // background(0);


      StringToChar(serialReadString); // We convert the message to char
      for (int i =0; i < serialReadChar.length; i++) {
        RobotKeyPress(serialReadChar[i]); // We call the robot for each key pressed
      }
    }
  } else {
  }
}
/* String to Char */
void StringToChar(String str) {
  serialReadChar = str.toCharArray();
}
All Processing Codes
import processing.serial.*; // Library for establishing serial connection
import java.awt.Robot; // Library to automatically press the keyboard
import java.awt.event.KeyEvent; // Library to simulate the keyboard
import java.io.IOException; // Library to access the system


/* Robot Variable */
Robot robot; // We define a robot for automatic keyboard pressing

/* Serial Variable */
String serialReadString = null; // Incoming message from serial
String newserialReadString = "0"; // Variable used to avoid writing if the incoming message is the same, but we did not use it in this project
char[] serialReadChar; // Variable used to divide the incoming message from serial character by character
int nl = 10; // leave as is, I don’t know what it does
String[] serialPorts; // To see all serial ports connected to the device
Serial serial; // Access to serial connection library class


void setup() {
  surface.setLocation(9999,9999); // Since I couldn't manage to run the application in the background, I send it to the lower right corner of the screen
  size(0, 0); // I set the screen width and height as 0,0
  SerialPortConnect(); // We call the function for the serial connection
  SerialPortList(); // We list the ports in the system
  SerialConnect(serialPorts[0], 9600); // Here, serialPorts[0] is the com port the Arduino is connected to, and 9600 is the serialBaudrate value in Arduino
  RobotCreate(); // We create the robot for automatic keyboard pressing
}

void draw() {


  SerialRead(); // We call the function that reads the messages coming from serial
  surface.setLocation(9999, 9999);
}


/* Robot */

void RobotCreate() {
  try {
    robot = new Robot(); // We create the robot
    robot.delay(1000); // Wait for 1 second
  }
  catch(Exception e) {
    exit();
  }
}
/* Below, we define the keys on the keyboard for the robot we created and let it press the incoming key. */
void RobotKeyPress(char character) {
  try {
    if (character == 'a')
    {
      robot.keyPress(KeyEvent.VK_A);
      robot.keyRelease(KeyEvent.VK_A);
    } else if (character == 'b')
    {
      robot.keyPress(KeyEvent.VK_B);
      robot.keyRelease(KeyEvent.VK_B);
    } ... (rest is identical, translation only for comments)
    robot.delay(25);
  }
  catch(Exception e) {
    exit();
  }
}

/* Serial Functions */
void SerialPortConnect() {
  serialPorts = Serial.list(); // We list all open com ports on the computer as serialPorts variable.
}

void SerialPortList() {
  for (int i = 0; i < serialPorts.length; i++) {
    println("Port Number : " + i + " : " + serialPorts[i]); // We print all listed ports on the console.
  }
}

void SerialConnect(String port, int baud) {
  serial = new Serial(this, port, baud); // We connect to the selected com port for serial communication.
}

void SerialRead() {
  if (serial.available() > 0 ) { // If a serial message arrives
    serialReadString = serial.readStringUntil(nl); // We assign the incoming message to serialReadString
    if (serialReadString != null && newserialReadString != serialReadString) { // If the message is not empty and different from the previous message
      // background(0);


      StringToChar(serialReadString); // We convert the message to char
      for (int i =0; i < serialReadChar.length; i++) {
        RobotKeyPress(serialReadChar[i]); // We call the robot for each key pressed
      }
    }
  } else {
  }
}

/* String to Char */
void StringToChar(String str) {
  serialReadChar = str.toCharArray();
}
Yorum Gönder